Domain Allow & Block List
You can allow or block email addresses for a domain by adding them to your domain Allow & Block List. Check the breadcrumb to ensure you are at the domain level:

Go to Filtering > Allow & Block List and follow the steps below to add an allowed or blocked domain, or an allowed or blocked email address.
Adding an Allowed or Blocked Email
Go to Filtering > Allow & Block List and follow the steps below to add allowed or blocked emails:
Select the Emails tab.
You can add allowed or blocked emails individually or upload a list of emails in a .csv file.
To add allowed or blocked emails individually:
Select Add and choose Allow Email or Block Email.
Complete the fields in the pop-up:

Email to Allow/Block: an email in the form of user@example.com
Comment (optional): Optional comments about this allow or block email.
Select Allow or Block.
To upload a list of emails:
Select Add and choose Upload Emails.
In the pop-up window, drag and drop the csv file to be uploaded.
Adding an Allowed or Blocked Domain
Go to Filtering > Allow & Block List and follow the steps below to add an allowed or blocked domain:
Select the Domains tab.
You can add allowed or blocked domains individually or upload a list of domains in a .csv file.
To add allowed or blocked domains individually:
Select Add and choose Upload Domain(s).
Complete the fields in the pop-up:
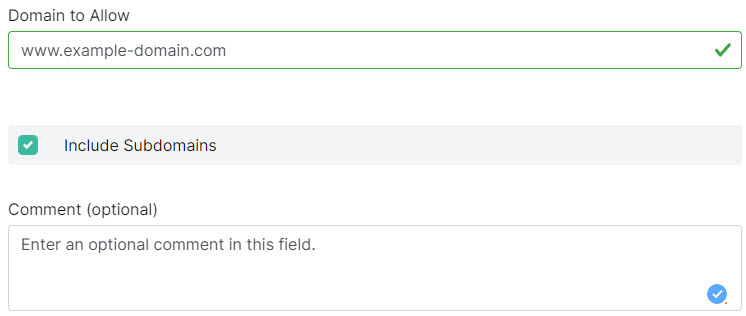
Domain to Allow/Block: Enter the domain you want to allow or block.
Include Subdomains: If your domain is example.com and you select this option, then all domains that end in example.com will also be allowed or blocked. For example, support.example.com and products.example.com.
Comments (optional): Optional comments about this allow or block domain.
Select Allow or Block.
To upload a list of domains:
Select Add and choose Upload Domain(s).
In the pop-up window, drag and drop the csv file to be uploaded.