Configuring Google Workspace for EncryptTitan
In order to begin using the EncryptTitan e-mail encryption services for Google Workspace, you must configure Workspace to send outbound e-mail though the EncryptTitan encryption gateway.
Log in to your Google Admin account. The URL redirects you to the Google accounts sign-in page.
Enter your super administrator account email address and password. (If you are not an Administrator, you will be redirected to the user hub. The user hub provides quick access to the services they have permission to use, but will not allow access administration features. You will need to contact your Administrator)
Select Sign in. The Admin console appears.
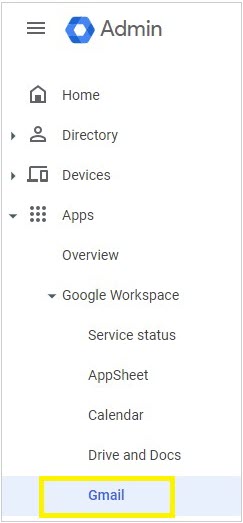
Select Apps > Google Workspace > Gmail.
Next, select Hosts > Add route.
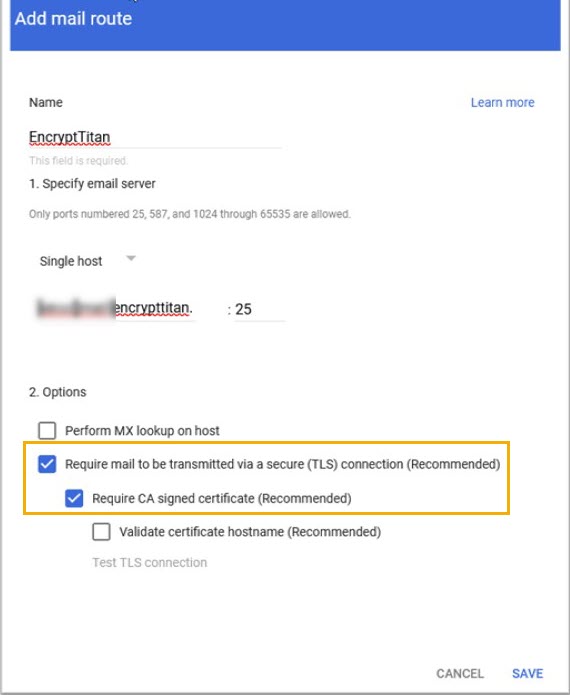
Enter a descriptive name for the mail route, such as EncryptTitan, and select single host.

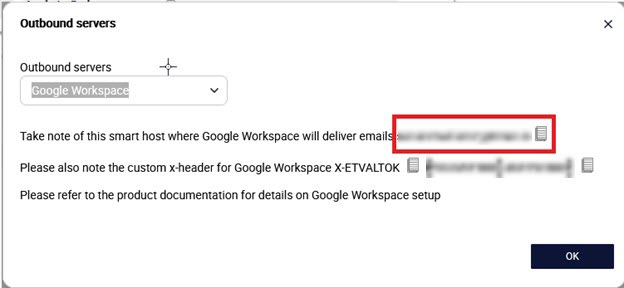
Go to the EncryptTitan portal and select Configurations > Domain Setup. Select the checkbox for the domain you are setting up and select Outbound servers. In the pop-up window, select Google Workspace from the dropdown menu and copy the value for the smart host.
Paste the smart host value into the single host field and enter the number 25 after the colon.
Ensure that Require mail to be transmitted via a secure (TLS) connection and Require CA signed certificate are selected and Validate Certificate Hostname is not selected.
Select Save.
Go to Settings for Gmail, and scroll down to the Compliance section. Select Configure compliance features.
Select Configure located next to Content compliance.

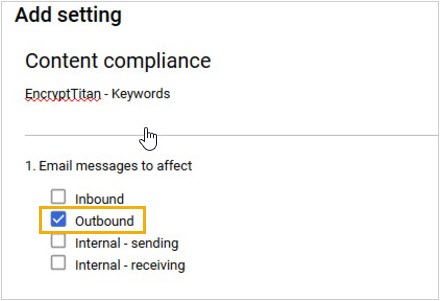
Enter a description, such as EncryptTitan - Keywords.
Under Email messages to affect, select Outbound.
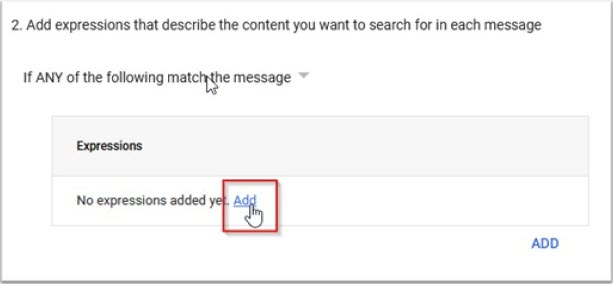
Select Add under Expressions.
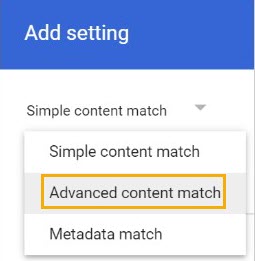
Select Advanced content match.
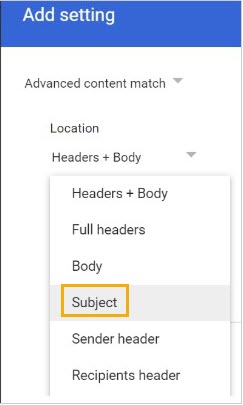
Next, select Subject as the location.
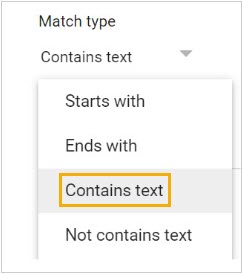
Under Match type, select Contains text.
Under Content, enter the keyword(s) you configured in the EncryptTitan portal (https://access.encrypttitan.io
 ) and select Save. If you are using multiple keywords, select Add and repeat this step.
Note
Keywords are case-insensitive.
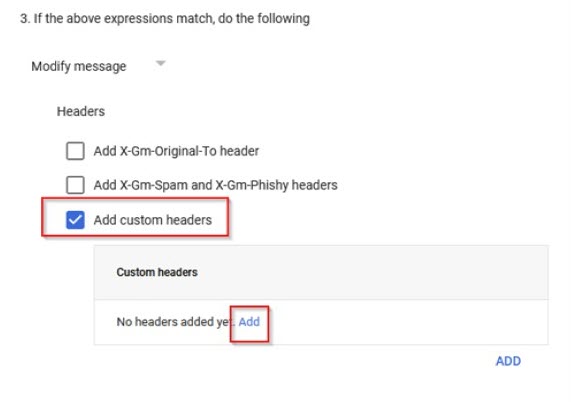
In the If the above expressions match, do the following section, select the Add custom headers checkbox, and select Add.
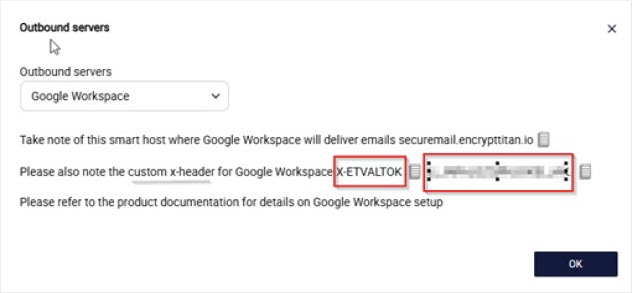
Go to your EncryptTitan portal to get your custom x-header and its value:
Select Configurations > Domain Setup and select the checkbox for your domain.
Select Outbound servers.
In the pop-up window, select Google Workspace from the dropdown menu and take note of the custom x-header and its value.
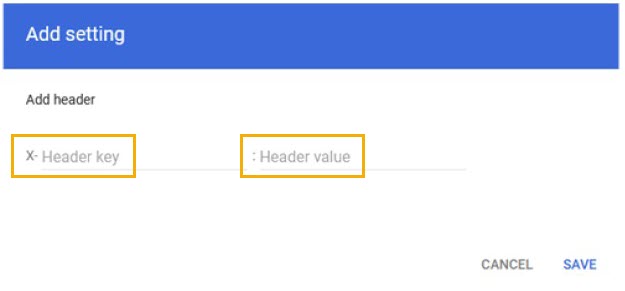
In the Google Admin pop-up window, enter the customer x-header in the Header key field and its value in the Header value field. and select Save.
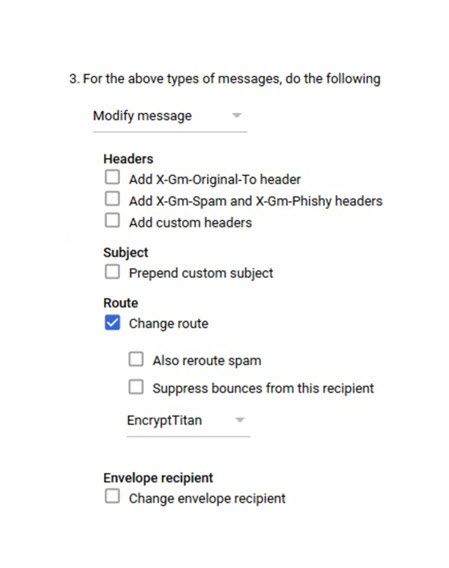
Under Route, select the checkbox Change route, and select the mail route that you created for EncryptTitan. Select Save.
You have now completed the configuration for the EncryptTitan service for the Google Workspace platform. Changes normally take effect in 5 to 10 minutes.