Identities
The Identities section is primarily used to add or import the end users who will be using the email encryption system. You can see all the users on this screen, whether they are active, inactive or require action. You can also export users.
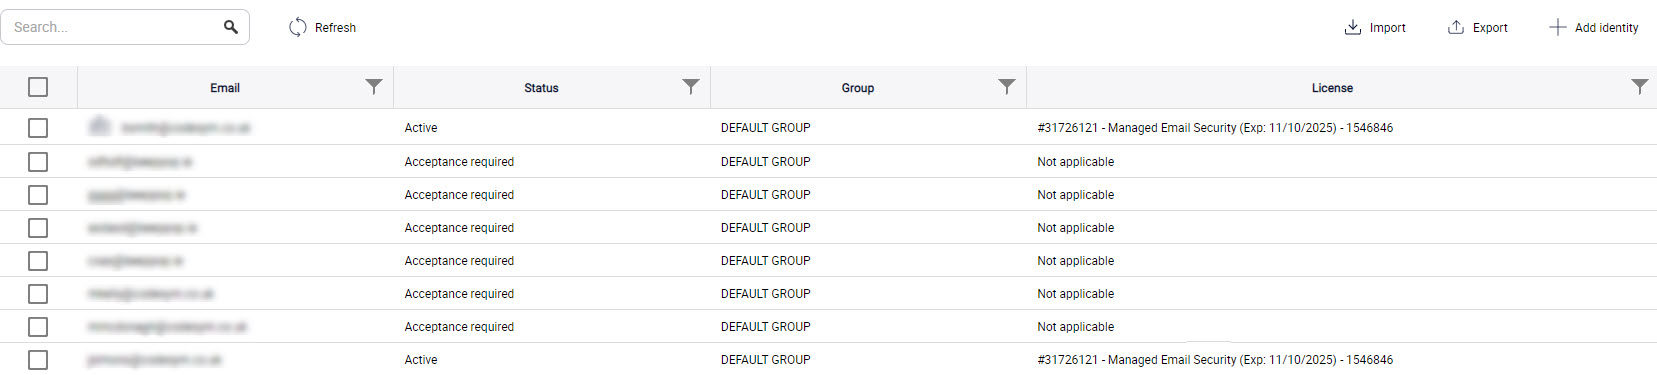
The following details are available in the table:
Email: This field shows the email ID of the identity that was sent a registration request for using EncryptTitan under a particular license.
Status: This field shows the identity’s status. It can be either Active, Inactive, Awaiting activation from admin or Acceptance required.
Invite Email Sent: This field indicates whether the invite email has been sent to the identity. If No, then the toggle Stop invitation email for recipients in Configurations > General is on. If Yes, the toggle is off and an invite email has been sent to the identity. You can send or resend invites as explained below.
Group: This field shows the group name in which the identity is included.
License: This field shows the license assigned to the identity.
Additional details for identities is shown at the bottom of the screen:
Active (x): Number of active users.
Inactive (x): Number of inactive users.
Awaiting activation from admin (x): Number of users who have registered and are awaiting admin approval. Non-admin users can also invite users to register with EncryptTitan. After completing their registration process, they still need the administrator’s approval. Until the administrator approves these users, their status is shown as ‘Awaiting activation from admin’.
Acceptance required (x): When a new identity is added, the user receives an invite email with a link to accept the invite and complete the registration with EncryptTitan. Until the user has not accepted the invite and completed the registration process, the status of such identities is shown as ‘Acceptance required’.
Use the search function by entering part or all of the term you want to find in the Search field and press Return.
By selecting the options at the top of the Identities screen, you can do the following:
Add Identities: Select Add identity and follow the instructions in Adding Identities.

Import / Export Identities: See Importing and Exporting Identities for details.

Edit Identities: Depending on the email you select, a range of options appear at the top of the screen that allow you to edit the identity. See Editing Identities for more details.
Delete Identities: Select the checkbox beside the identity you want to delect, and then Delete. Select OK to delete the keyword.

Resend Invite: If the user has not yet accepted the invite and registered, you can resend the invite. Select the checkbox beside the email you want to resend, and select Resend Invite. The user will receive an email with a registration link. After successful registration, the user will receive another email. The status changes to Active as shown in the screenshot below:

Send Invite: If an invite email has not been sent, the Invite email sent field will display No. You can send an invite by selecting the checkbox beside the email you want to send and select Send Invite to send the invite email.
