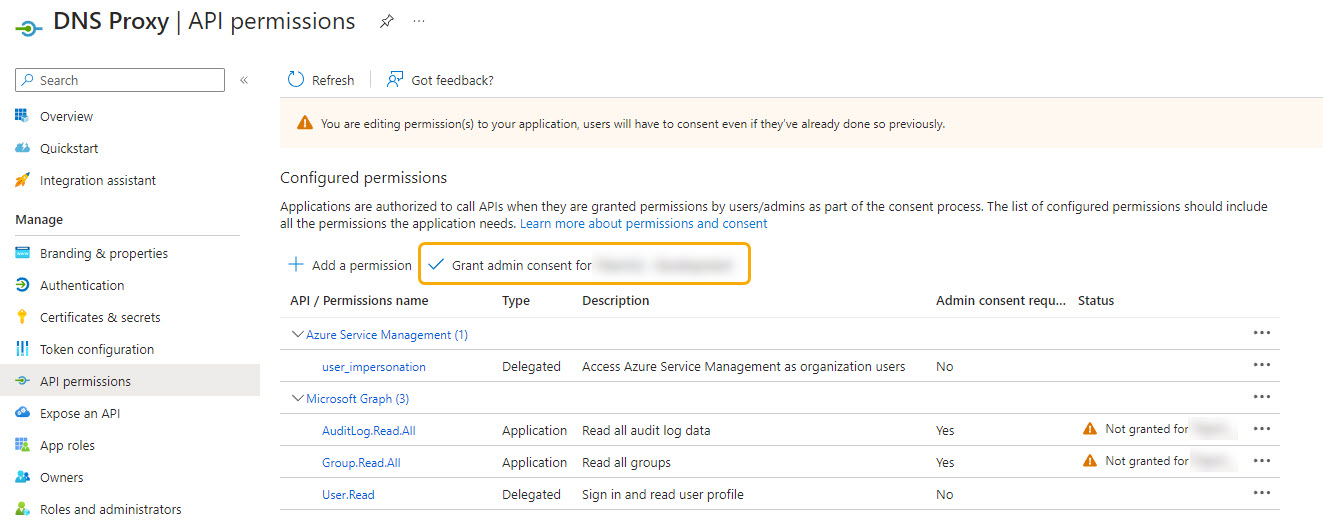
Grant API Permissions
The following permissions need to be granted to DNS Proxy in your Azure portal:
API | Permission |
|---|---|
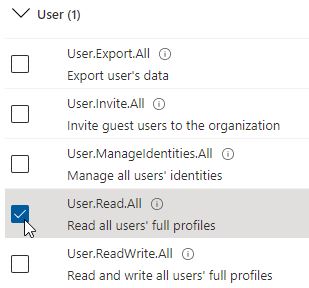
Microsoft Graph | User.Read.All |
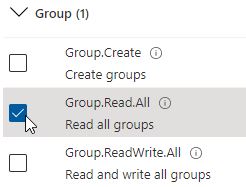
Microsoft Graph | Group.Read.All |
Microsoft Graph | AuditLog.Read.All |
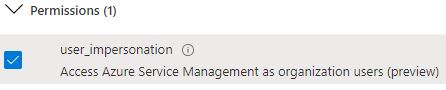
Azure Service Management | user_impersonate |
Follow the steps below to grant these API permissions.
Go to your Microsoft Azure Portal
 .
.From the main portal menu in the top left, select Azure Active Directory.
From the Azure Active Directory page, select App registrations from the left-hand menu.
Click on the DNS Proxy app and the app page displays.
From the DNS Proxy app page, select API permissions from the left-hand menu.
Click
 Add a permission.
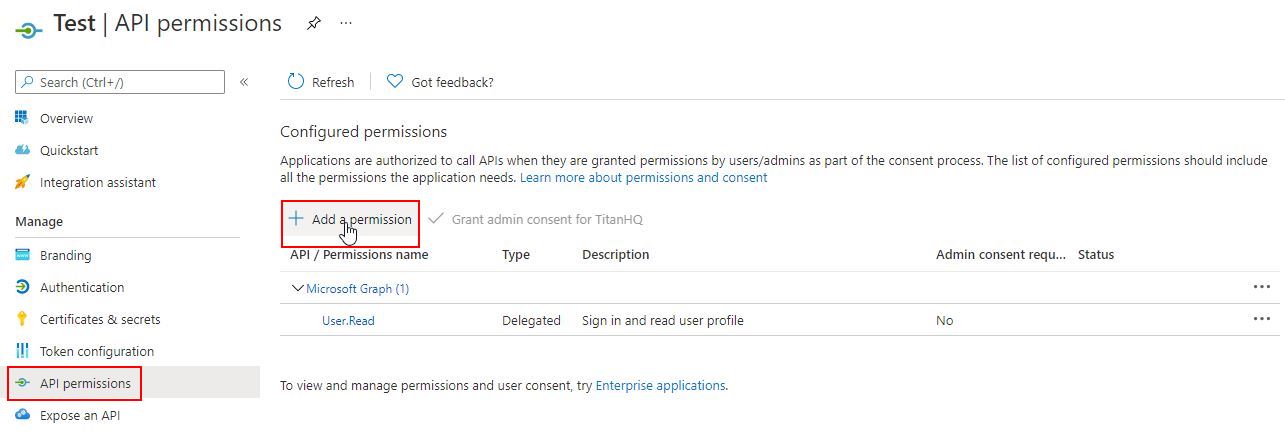
On the Request API Permissions page, click Microsoft Graph.

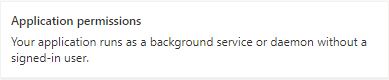
On the Request API Permissions page, click the Application permissions box.
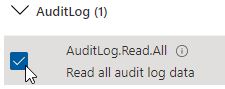
Expand AuditLog and check AuditLog.Read.All.
Expand User and check User.Read.All.
Expand Group and check Group.Read.All.
Click the Add permissions button.
On the Request API Permissions page click Azure Service Management.

Expand Permissions and check user_impersonation.
Click Add permissions.
On the DNS Proxy application > API permissions page, click
 Grant admin consent.