Primary and Secondary DNS Proxy Synchronization Setup
After you have added a primary and a secondary DNS Proxy, follow the steps below to synchronize them.
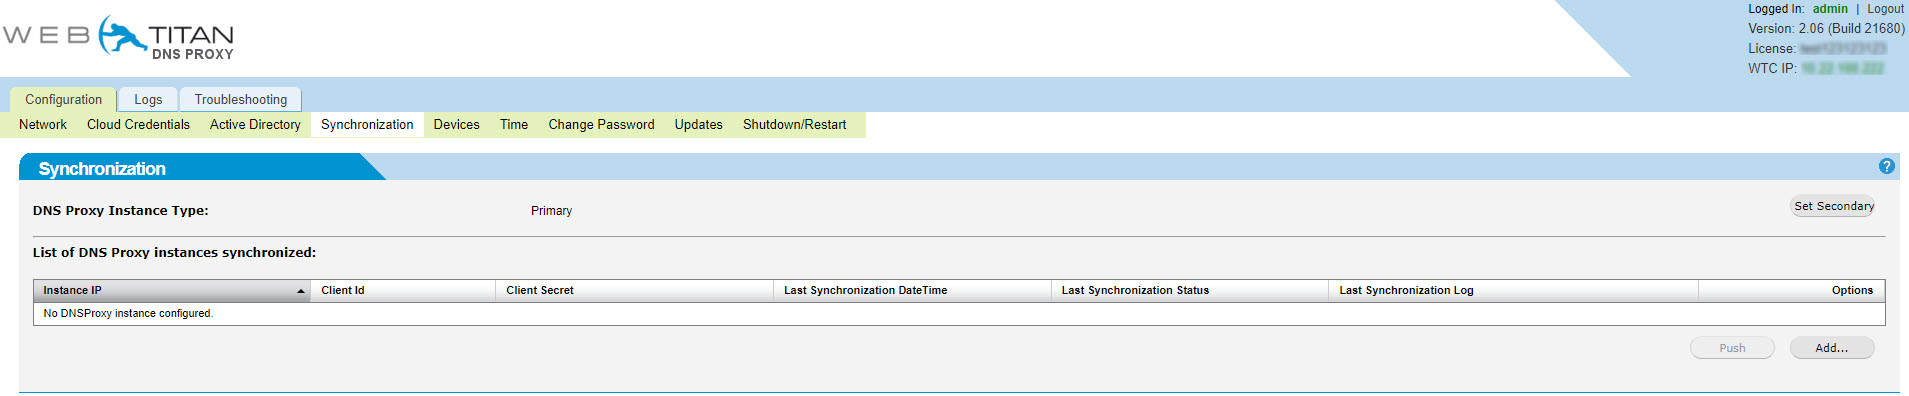
Select Configuration > Synchronization and click Set Secondary.
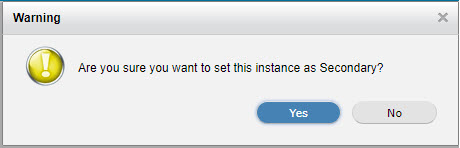
Select Yes in the Warning pop-up window to set instance as Secondary.
Copy the Client Secret displayed for entry into the Primary DNS Proxy and click Set Primary.

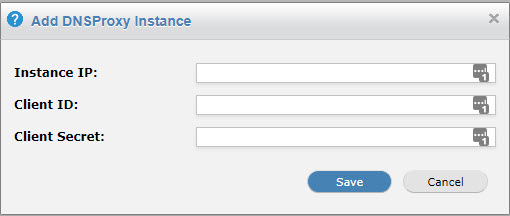
Click Add.

In the Add DNS Proxy instance window that opens, enter your secondary IP address and Client ID. Paste the Client Secret you copied in step 3 and click Save.
Select Active Directory and in the Active Directory Servers section, select the Azure AD checkbox and click Import Users.
After the message indicating that users have been imported successfully appears in the Synchronization Status section, click Sync Users.
Go to the Synchronization tab, and click Push to push the imported users and groups to the secondary DNS proxy.
