Configure WebTitan Azure AD Enterprise App on DNS Proxy
Follow the instructions below to configure WebTitan Azure AD Enterprise App on DNS Proxy.
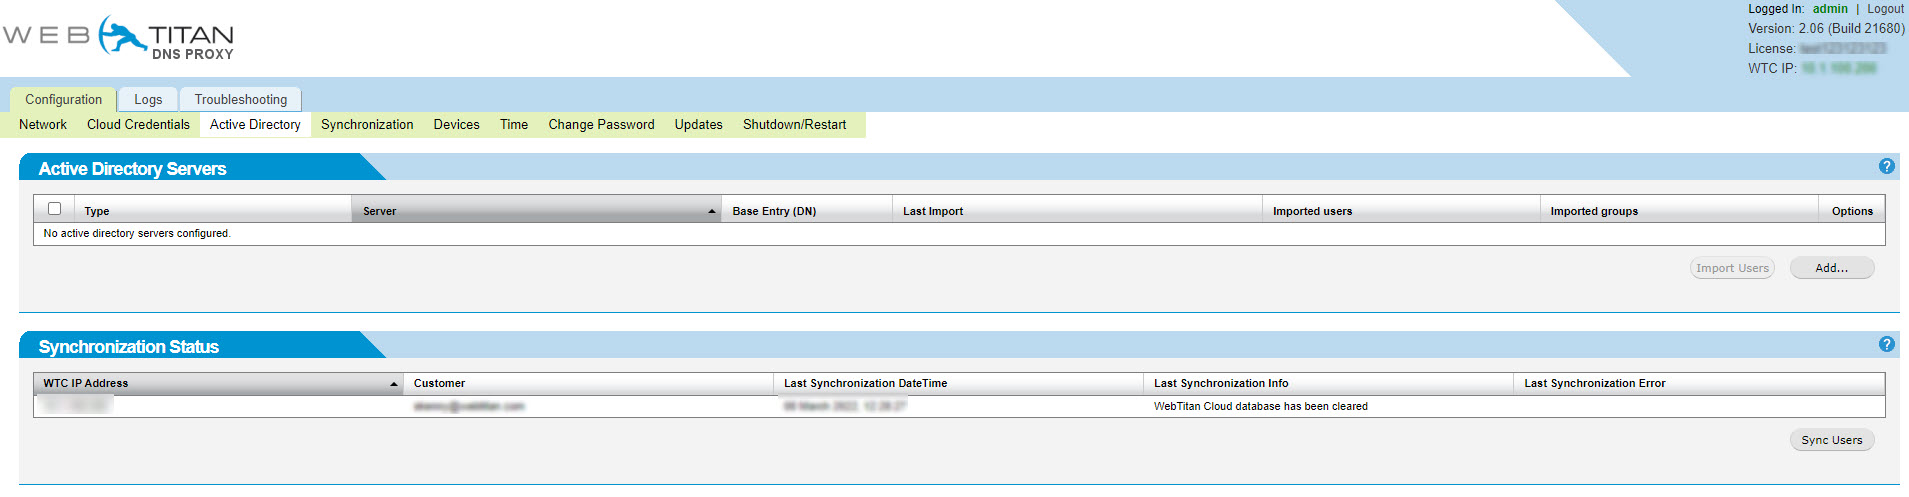
In WebTitan DNS Proxy, select Configuration > Active Directory and click Add.
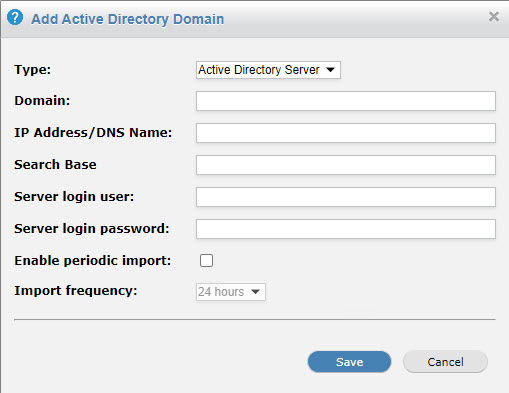
In the Type field of the Add Active Directory Doman window, select Azure Active Directory from the dropdown menu. Enter your WebTitan Cloud account details and click Save. If you have a WebTitan shared Cloud account, see WebTitan Cloud IP Addresses for details.
In the Active Directory Servers table, select the Azure AD checkbox and click Import Users.

In the Synchronization Status table, click Sync Users.
