Primary DNS Proxy Basic Setup
Follow the steps below to set up the primary DNS proxy:
In WebTitan DNS Proxy, select Configuration > Network > DNS Settings, and enter your IP address in the WebTitan Cloud IP field.
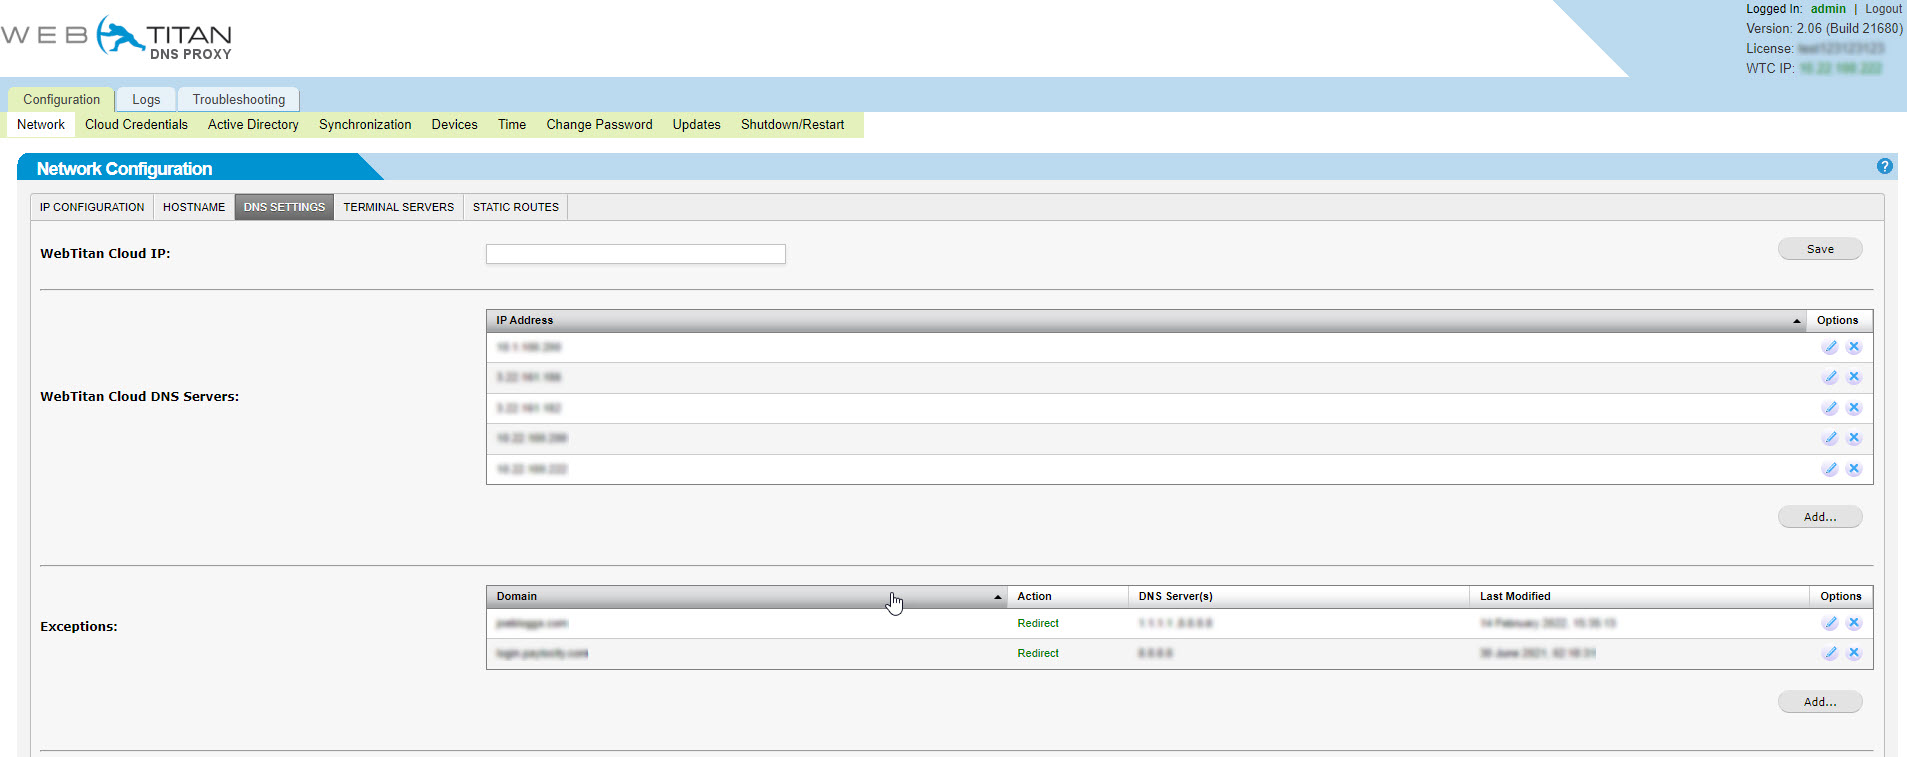
Click Save.
In the WebTitan Cloud DNS Servers section, click Add. In the Add WebTitan Cloud DNS Server window that opens, enter your WebTitan Cloud Server IP address. This can be the same IP address that you entered in step 1 or it can be the IP Address of the Resolver.
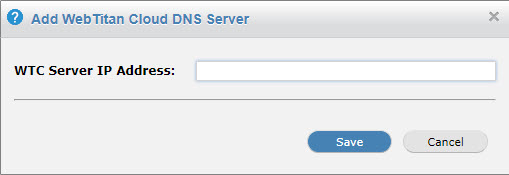
Click Save.
Select the Cloud Credentials tab, and enter your WebTitan Cloud Customer Account details. These are the credentials that you used to connect your IP Address to WebTitan Cloud.

Click Save.
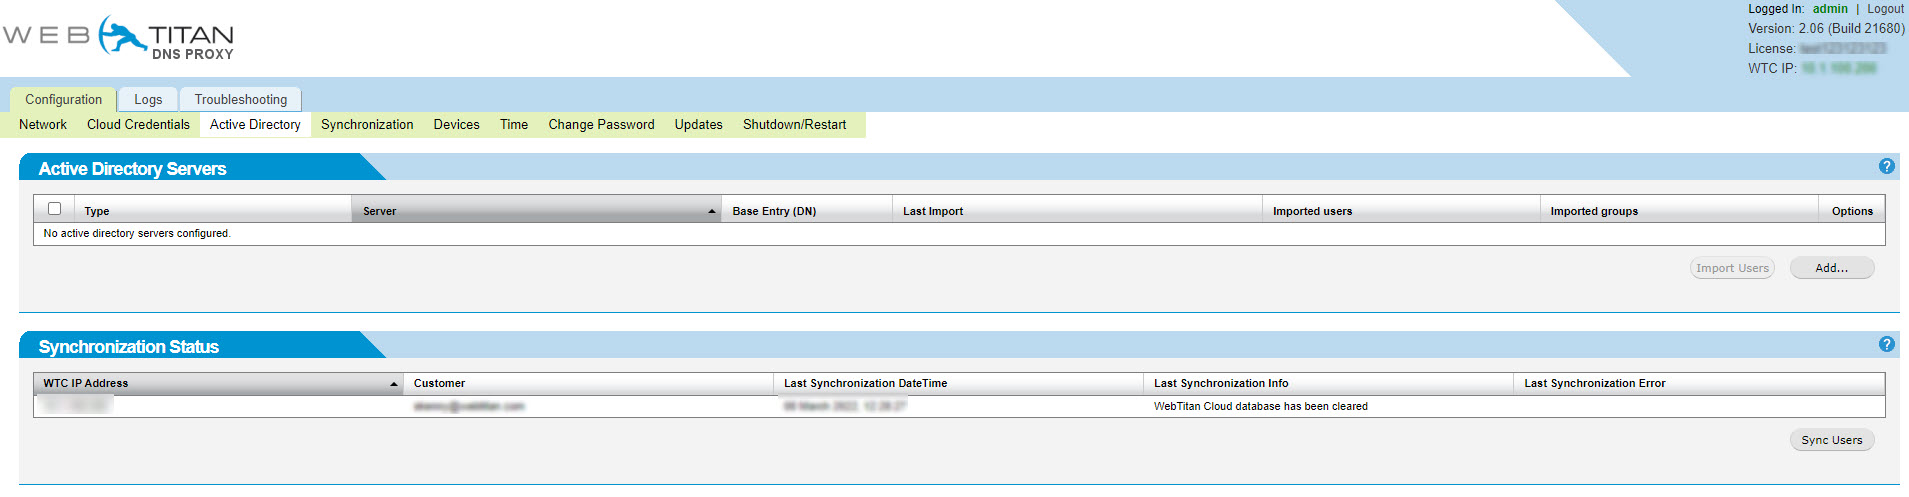
In the Active Directory tab, click Add.
Note
If you have a hybrid environment, which means that you have both on-premise and cloud-based servers, continue with step 8.
If you have a cloud-based environment, with servers based only in Azure, skip to step 9.
In the Add Active Directory Domain window that opens, select Active Directory Server from the dropdown menu, add the details for that domain, and click Save.
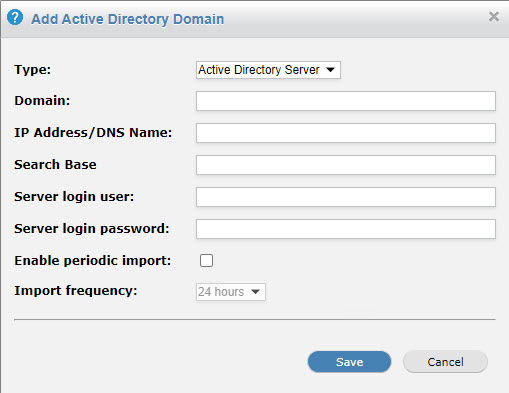
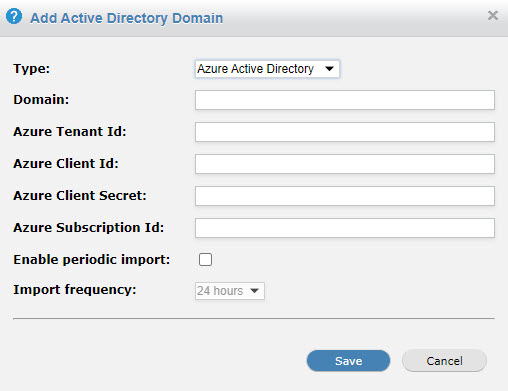
In the Add Active Directory Domain window that opens, select Azure Active Directory from the dropdown menu, add the details for that domain, and click Save.
If required, you can add domains to the Exceptions section. See Configure DNS Proxy with Azure-Specific Redirects.