
Email Security MSP Overview
Select Email Security > Overview to see a summary of activity for all your customers and a list of your customers. The default view is the last 30 days, but you can change this by selecting Last 7 Days in the upper right corner.
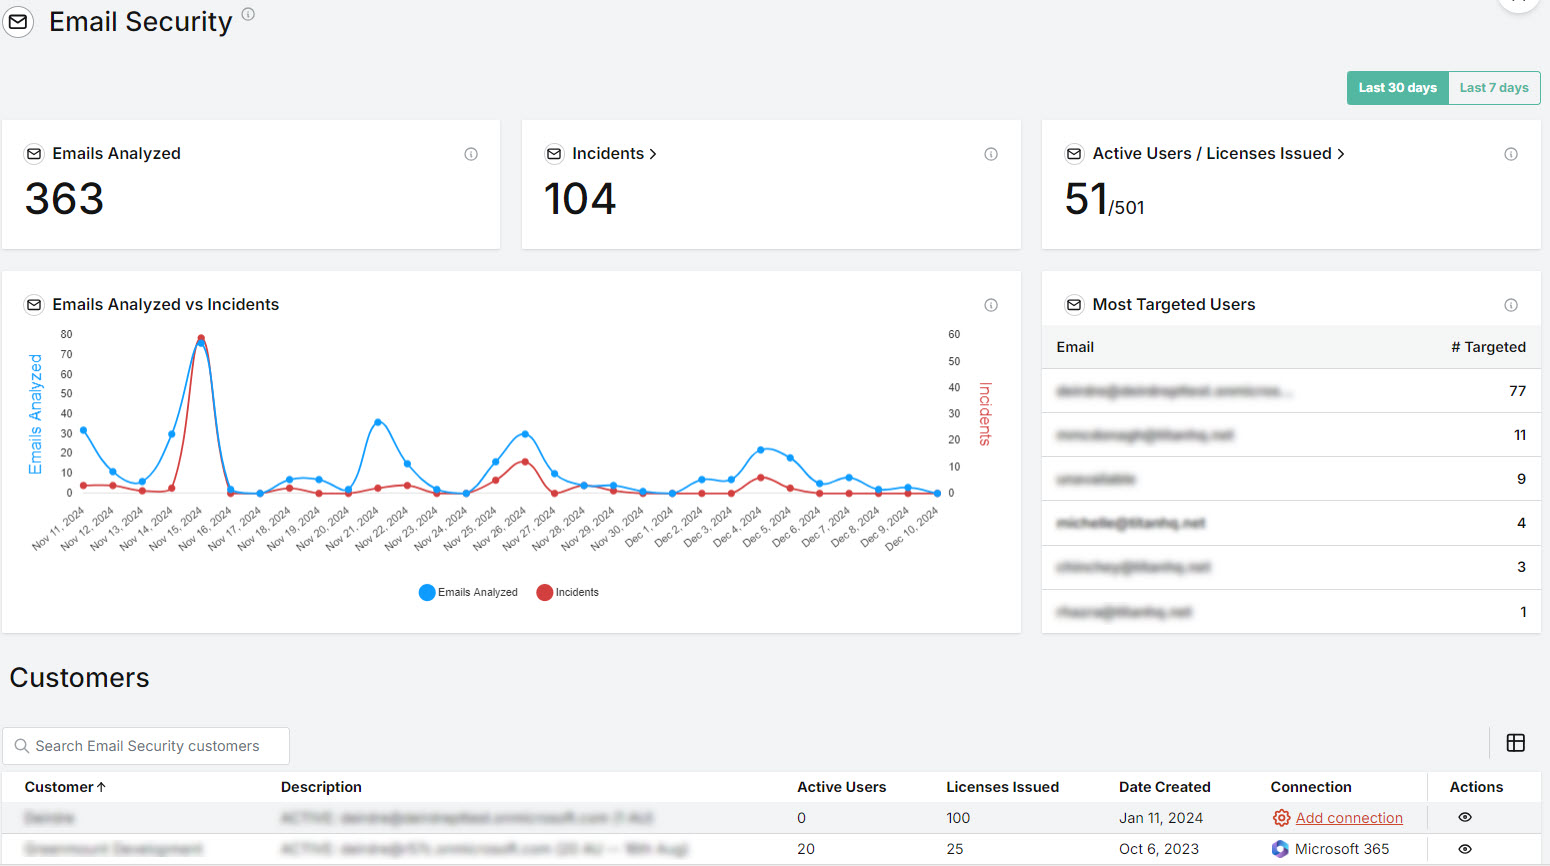
Emails Analyzed
Here you can see the total number of emails processed for the selected time period.
Note
This number is based on the email count and not the number of recipients who received the email. For example, if an email has 5 recipients, the email is only counted once.
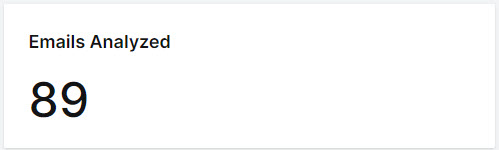
Incidents
You can see the total number of phishing emails received by your customers for the selected time period in the Incidents section. Select this box to go to Incidents, where you can view, resolve, and manage incidents.
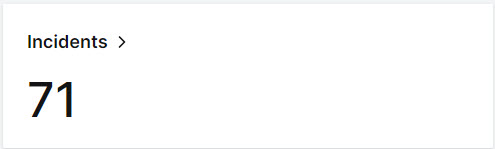
Active Users/Licenses Issued
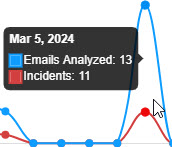
Emails Analyzed vs Incidents
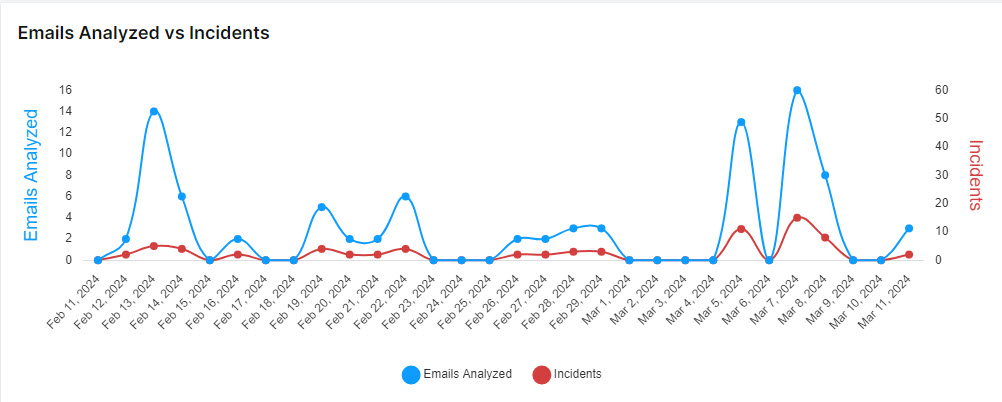
Hover your mouse over the graph to display a summary for a particular date.
Select and de-select the labels to add and remove items from the graph.

Email Security Customers
This is a list of all your customers to whom you have issued licenses.
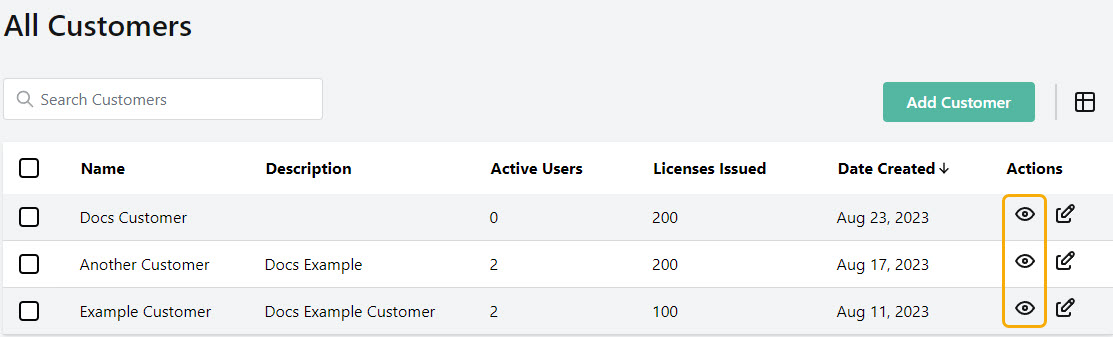
Use the Search
 box to search the names of your Email Security customers.
Select the column
 icon to display the Customers table column names. Slide each on and off to show or hide a column.
Customer: Name of your customer.
Connection: Indicates if a customer is connected to a Microsoft 365 account. The
 label shows which customers are connected; the
  link highlights those customers who are not.
Select the Add connection link to begin Connecting and Configuring a Customer Account.
Actions: Select the view
 icon for a customer to drill down to the customer level to view and further manage that customer.
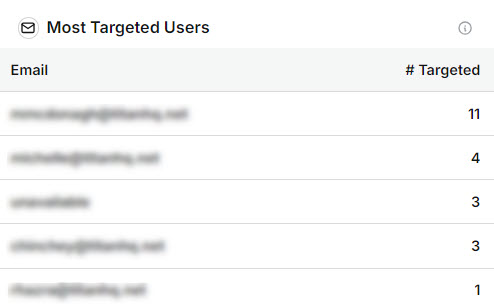
Most Targeted Users
View a list of the most attacked email addresses, with the most targeted user listed first. The # Targeted column indicates the number of malicious emails sent to the user.
To add a new customer, see Add a Customer Account.