
Managing Phishing Campaigns
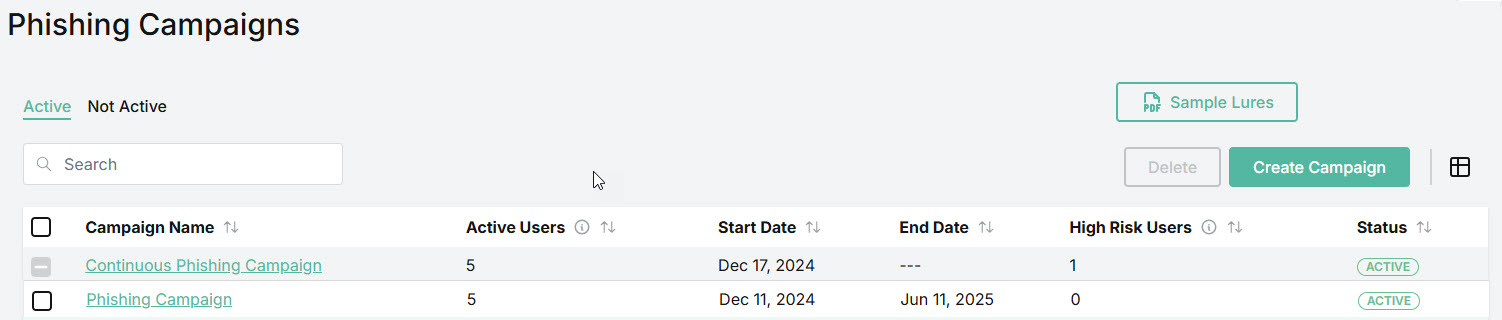
Go to Phishing Simulation > Phishing Campaigns to see details of all active, completed and deleted phishing campaigns. They are divided into two groups, which can be accessed by selecting either the Active or Not Active tabs at the top of the page. All Active and Planned campaigns are listed under the Active tab, and all Completed and Deleted campaigns are listed under the Not Active tab. When you select a campaign in the Campaign Name column, you can view lure content.
You can manage how the table is displayed as follows:
Use the Search
 box to search the list of campaign names.
Select the column
 icon to manage how table columns are displayed. By default, all columns are visible and arranged in a specific order. You can change the display by doing the following:
Select or deselect the checkbox beside a column name to show or hide a column.
Use the reordering
 icon to move columns up and down the list. This changes the left-to-right display. An item at the top of the list, for example, means that it will be the first column on the left. Select Reset Order to restore the columns to their default positions.
Resize columns by hovering your cursor over the column boundary you want to adjust until it becomes a resize
 cursor. Drag the boundary until the column is the width you want.
Select the up/down
 arrows in the column headers to sort column content.
From this page you can do the following:
Create phishing campaigns by selecting Create Campaign. See Creating a Phishing Campaign.
View sample lures for a better understanding of lure categories. See View Sample Lures.
Delete phishing campaigns that you have created. You can do this by selecting the checkbox(es) beside the campaign(s), and selecting Delete. Note that campaigns created at the MSP level cannot be deleted, and their checkboxes are disabled.
The following details are available in the table:
Campaign Name: The name of the phishing campaign.
Active Users: This is the number of users enrolled in the campaign.
Note
If you have just created a campaign, you will need to refresh this page to see the updated number of Active Users.
Start Date: Date on which the phishing campaign begins sending lures.
End Date: Date when the phishing campaign finishes and lures are no longer sent. Note that a Continuous Campaign has no end date.
Lures Reported: Number of lures reported as phishing using the Outlook Add-In.
Status: Indicates the state of the phishing campaign, based on the following:

If the Phishing Campaign is Active, then this means that users enrolled in the campaign are receiving lures.

Phishing Campaigns with a status of Planned means that the campaigns have been created, but the start date hasn't occurred yet.

This was a planned or active phishing campaign that you Deleted, and now appears in the Not Active list.

When a Phishing Campaign has finished running and is no longer Active, its status shows as Completed.